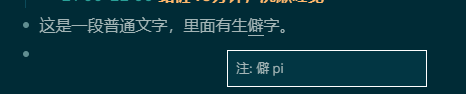
实现sticky note类似的文字提示,很酷的效果!
1. custom.css里添加代码
.sticky {
  margin-top: 50px;
  position: relative;
}
.sticky > :last-child {
  color: #333;
  position: relative;
  width: 300px;
  margin: 0 auto;
  padding: 20px;
  box-shadow: 0 12px 10px -7px rgb(0 0 0 / 20%);
  background: #eae672;
  transform: rotate(2deg);
}
.sticky > :first-child {
  background-color: #aaa;
  display: block;
  height: 32px;
  width: 2px;
  position: absolute;
  left: 50%;
  top: -16px;
  z-index: 1;
  padding: 0;
}
.sticky > :first-child:after {
  background-color: #A31;
  background-image: radial-gradient(25% 25%, circle, hsla(0,0%,100%,.3), hsla(0,0%,0%,.3));
  border-radius: 50%;
  box-shadow: inset 0 0 0 1px hsla(0,0%,0%,.1),
              inset 3px 3px 3px hsla(0,0%,100%,.2),
              inset -3px -3px 3px hsla(0,0%,0%,.2),
              23px 20px 3px hsla(0,0%,0%,.15);
  content: '';
  height: 12px;
  left: -5px;
  position: absolute;
  top: -10px;
  width: 12px;
}
.sticky > :first-child:before {
  background-color: hsla(0,0%,0%,0.1);
  box-shadow: 0 0 .25em hsla(0,0%,0%,.1);
  content: '';
  height: 24px;
  width: 2px;
  left: 0;
  position: absolute;
  top: 8px;
  transform: rotate(57.5deg);
  transform-origin: 50% 100%;
}
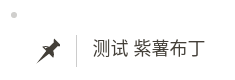
当然如果觉得上面的那个顶针太花哨,不想要,可以直接复制这个
.sticky {
  margin-top: 50px;
  position: relative;
}
.sticky > :last-child {
  color: #333;
  position: relative;
  width: 300px;
  margin: 0 auto;
  padding: 20px;
  box-shadow: 0 12px 10px -7px rgb(0 0 0 / 20%);
  background: #eae672;
  transform: rotate(2deg);
}
当然了,这种情况下你在笔记里输入#-BEGIN_STICKY时就不需要后面加上span那一行了。
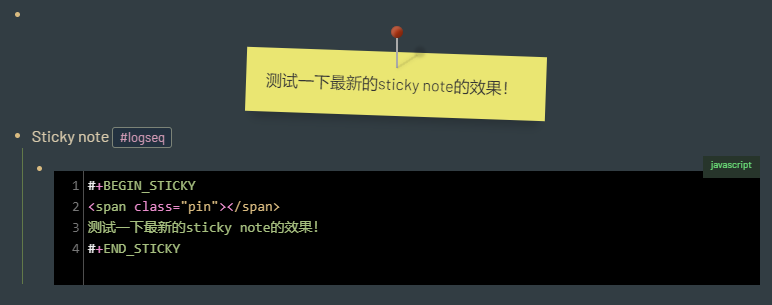
2. 添加sticky note
直接在笔记里输入:
#+BEGIN_STICKY
<span class="pin"></span>
内容字数补丁紫薯布丁🍮
#+END_STICKY
3. 修改颜色
在.sticky > :last-child 里面修改
background 后面就是背景色
color后面就是字体颜色
width 后面是宽度
4. 进阶
你甚至可以在css里,对应的代码块前面加上.dark-theme 和.white-theme来规定明暗主题下不同的sticky note的颜色